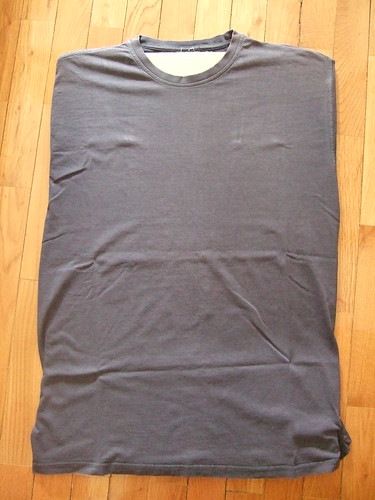


homemade Witcher t-shirt
Hi there guys!
Just wanted to make a quick post regarding a piece of artwork of sorts I made.
The Witcher franchise entered my life not that long ago. It soon rose to one of my all time favourites. So I figured I should show my appreciation for it in some way (besides buying the games, that is). And what better way to do it then with a t-shirt? Well, actually there are better ways... but that's no the point!
And since I didn't get a chance to grab one of those t-shirts they where giving at their booth at Gamescom, I just had another reason to make my own.
link
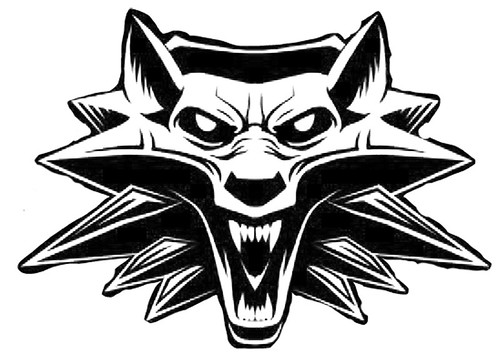
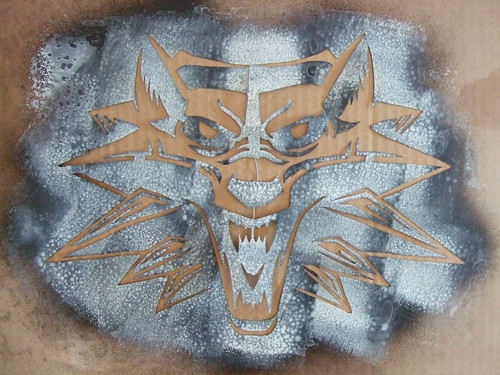
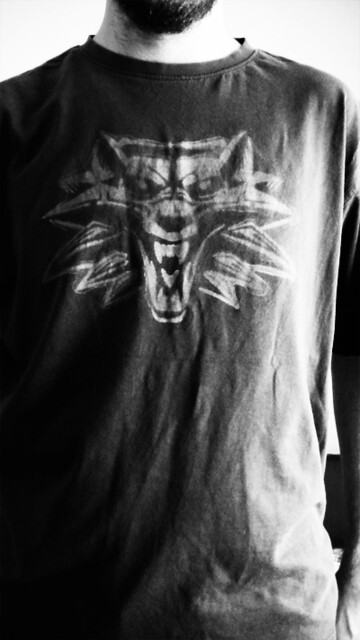
I used a stencil with the original medallion drawing, plus a few changes to better accommodate this kind of application. Unlike previous works of mine, this time I decided to apply fabric paint with a roller, instead of spray paint, since I had never used it and wanted to see how the end result would be. Also wanted it to look more worn out, so I added a bit of water to the paint. In retrospect, maybe I shouldn't have added so much, but the faded and rough style I was aiming for is there.
Anyway, I'm somewhat happy with the end result, and it serves its purpose
Hope you liked it, and if any of you are interested, I could eventually make a small tutorial explaining the different steps it took to make it. In the end, its not that hard to do after you learn a couple of things.
Hi there guys!
Just wanted to make a quick post regarding a piece of artwork of sorts I made.
The Witcher franchise entered my life not that long ago. It soon rose to one of my all time favourites. So I figured I should show my appreciation for it in some way (besides buying the games, that is). And what better way to do it then with a t-shirt? Well, actually there are better ways... but that's no the point!
And since I didn't get a chance to grab one of those t-shirts they where giving at their booth at Gamescom, I just had another reason to make my own.
link
I used a stencil with the original medallion drawing, plus a few changes to better accommodate this kind of application. Unlike previous works of mine, this time I decided to apply fabric paint with a roller, instead of spray paint, since I had never used it and wanted to see how the end result would be. Also wanted it to look more worn out, so I added a bit of water to the paint. In retrospect, maybe I shouldn't have added so much, but the faded and rough style I was aiming for is there.
Anyway, I'm somewhat happy with the end result, and it serves its purpose
Hope you liked it, and if any of you are interested, I could eventually make a small tutorial explaining the different steps it took to make it. In the end, its not that hard to do after you learn a couple of things.